Excel Models in DOME
This tutorial assumes that you have DOME installed and that you are able to run DOME client and server. If you need to install DOME follow the tutorial Installing and Launching DOME.
This tutorial assumes that you have an excel file with the description of the model. Also need ExcelPlugin2010.dll.
BUILD THE MODEL
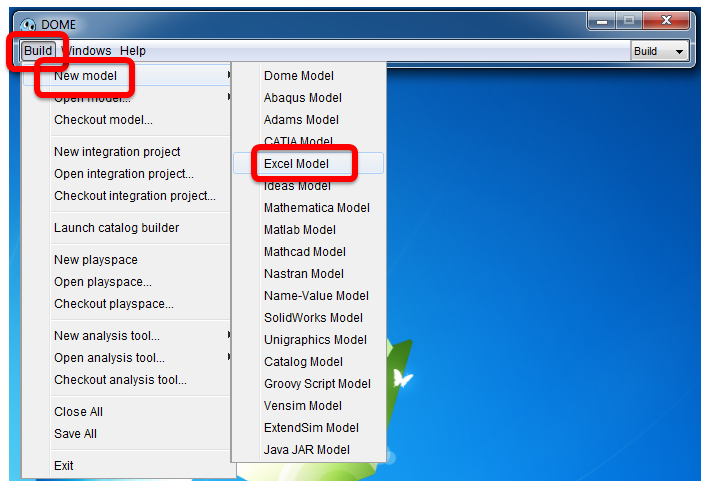
From the dome window choose Build, on the top right.

Choose the option Build > new Model > Excel Model, on the top left.
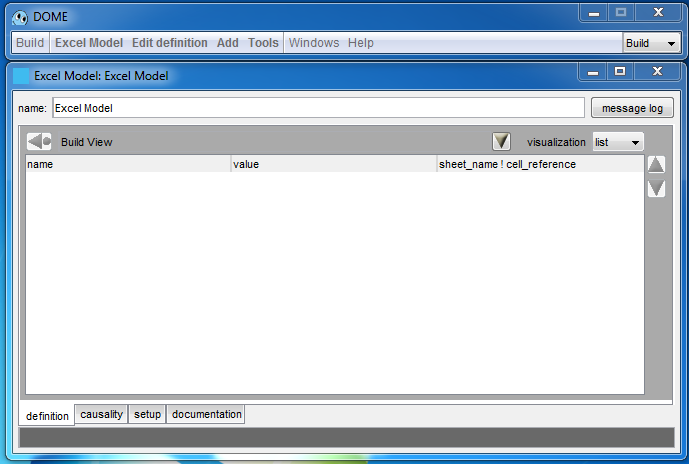
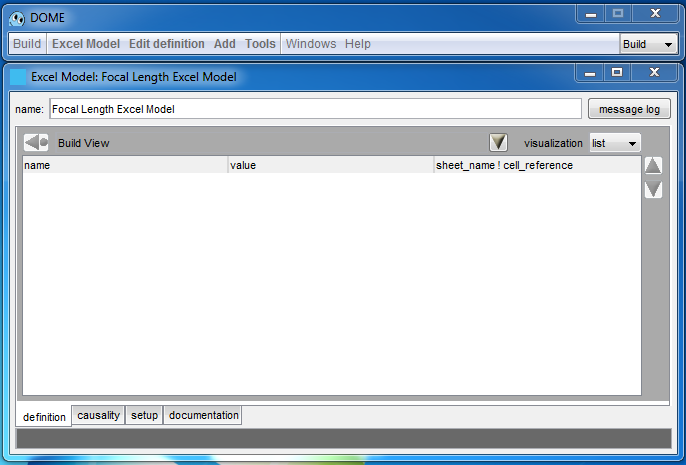
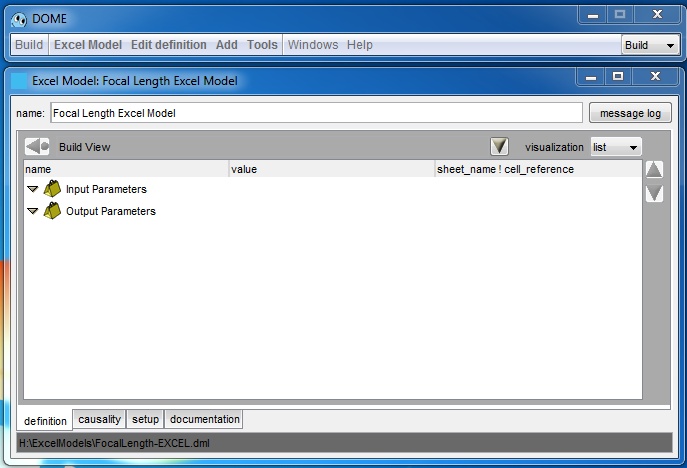
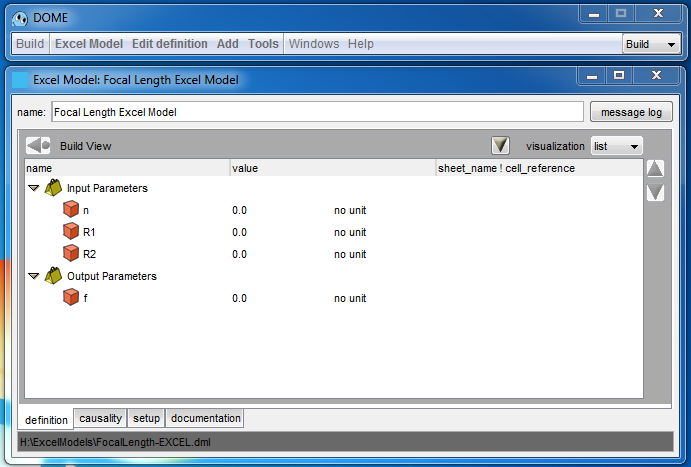
A Excel Model page will open
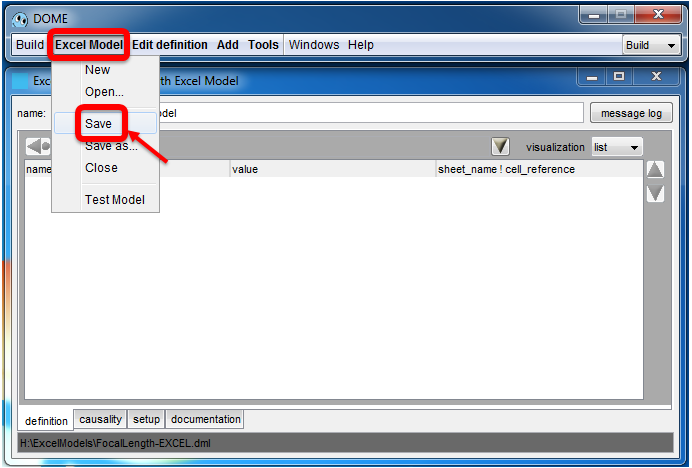
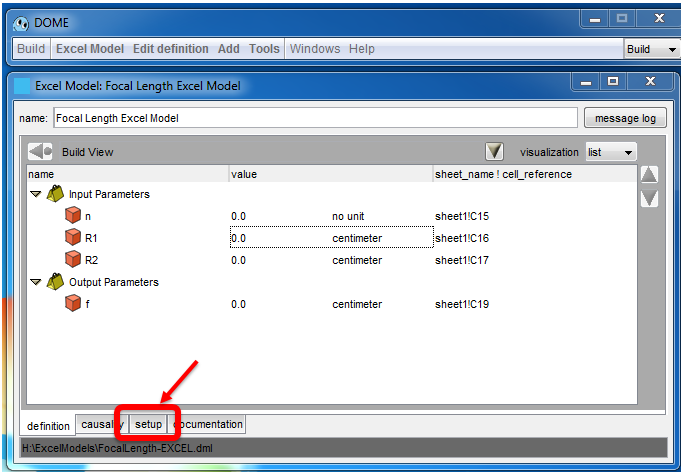
Change the name to the model name you want, we chose “Focal Length Excel Model”. Hit Enter/Return to update the name. The name field will change from yellow to white to show the change has been accepted. Save the model to save the new name. To save the model click Excel Model > Save.
Now the model with the new name is saved.
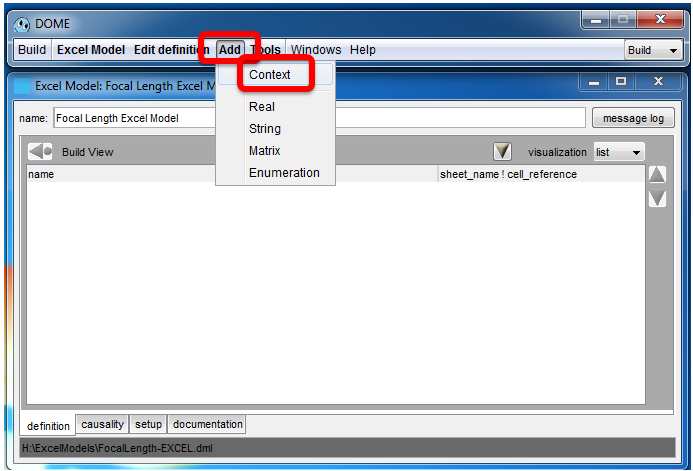
Choose Add > Context to add a folder in the model window.
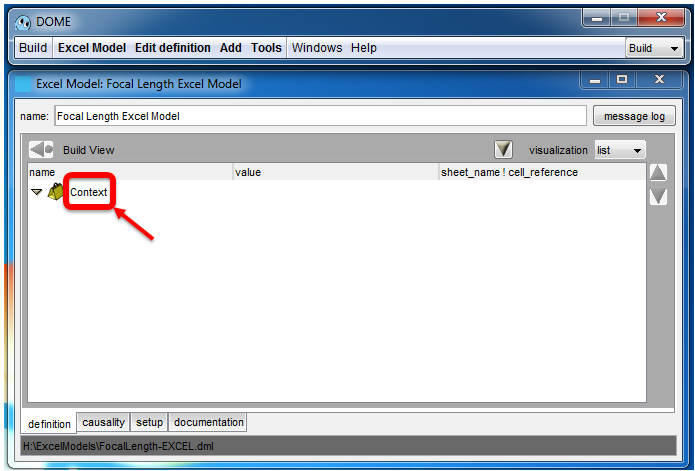
A new Context will appear in the model window
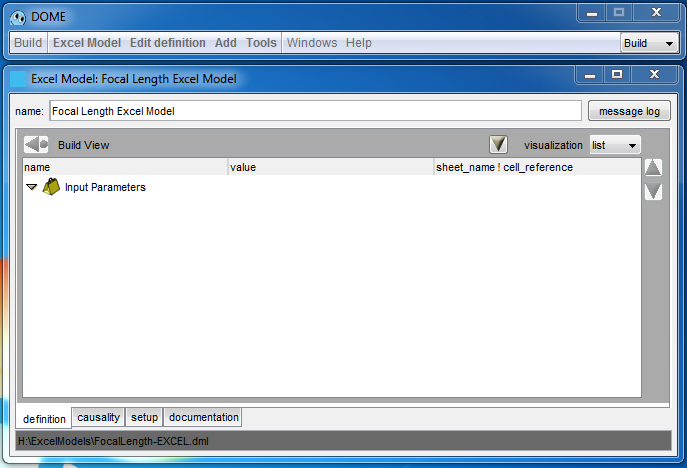
Change the name to Input Parameters. Again, hit Enter/Return to update the name. The name field will change from yellow to white to show the change has been accepted. Save the model to save the new name. Now make sure that the "Input Parameters" box is NOT highlighted.
Repeat this procedure to add another context to add a folder containing the output parameters. If the "Output Parameters" context shows up underneath "Input Parameters" as a nested context rather than the separate context it is meant to be, it means that "Input Parameters" was selected as the parent, and any items added will be children underneath it in the hierarchy. To resolve this issue, one needs to select the incorrect item, and then use Edit Definition → Remove to remove the item from the hierarchy.
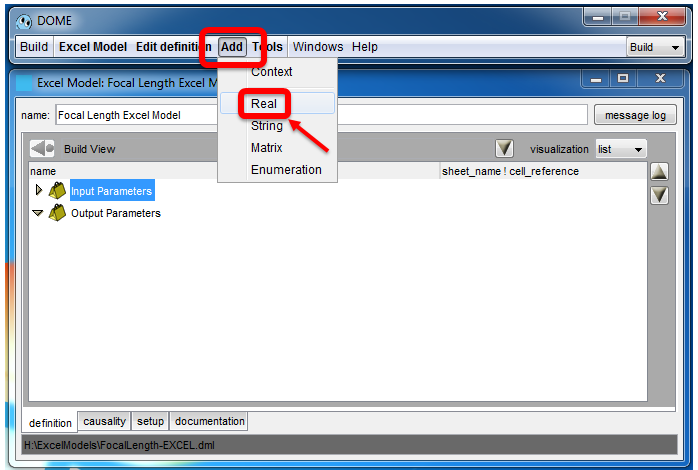
With the Input Parameter folder expanded (yellow triangle pointing down,  ) and selected (Input Parameters becomes white characters in a blue window,
  ), use Add > Real to add a real parameter.
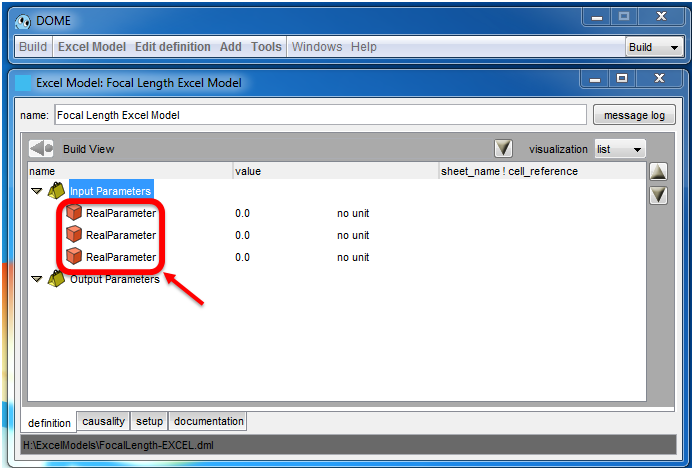
Repeat the procedure to add other input parameters, in our case we add three input parameters.
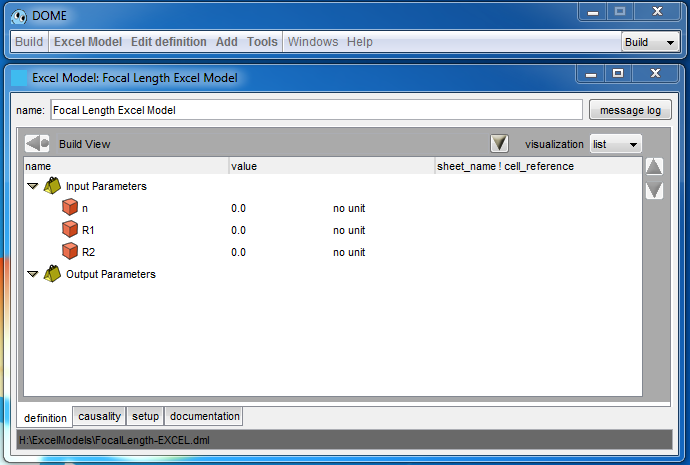
To change the name to match the particular model you are building double click the name and type the new name.
Repeat the same procedure to add output parameters.
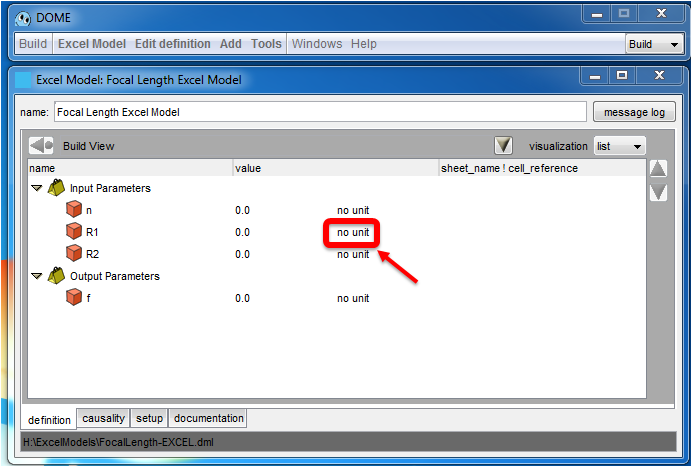
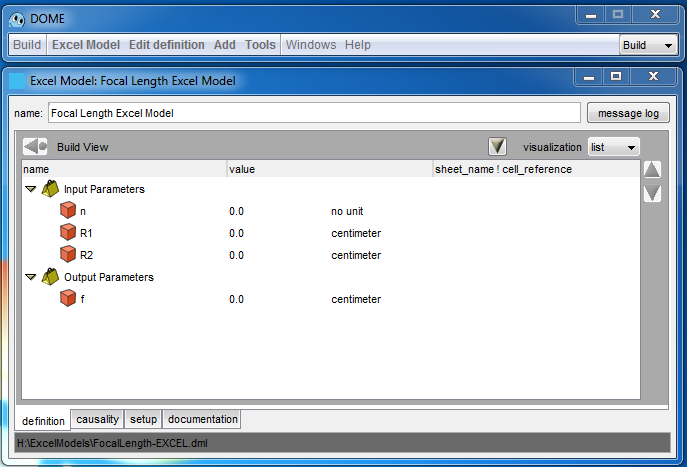
Now change the unit to the unit you want. To do that click on no unit. We want to change R1, R2 and f from no unit to centimeter.
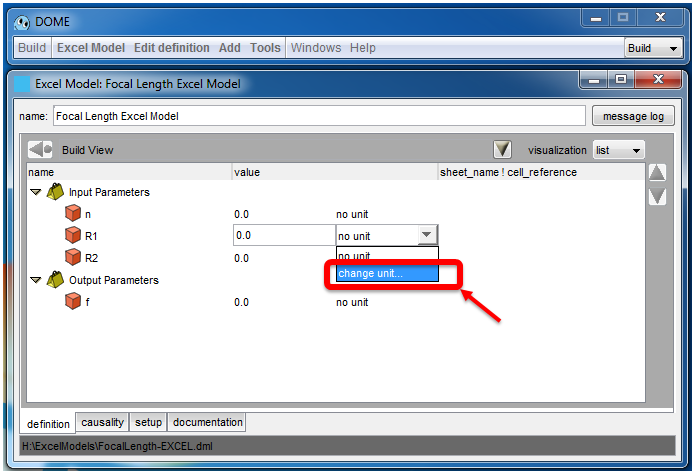
A window will open. Click on change unit.
A Unit Chooser window will open.
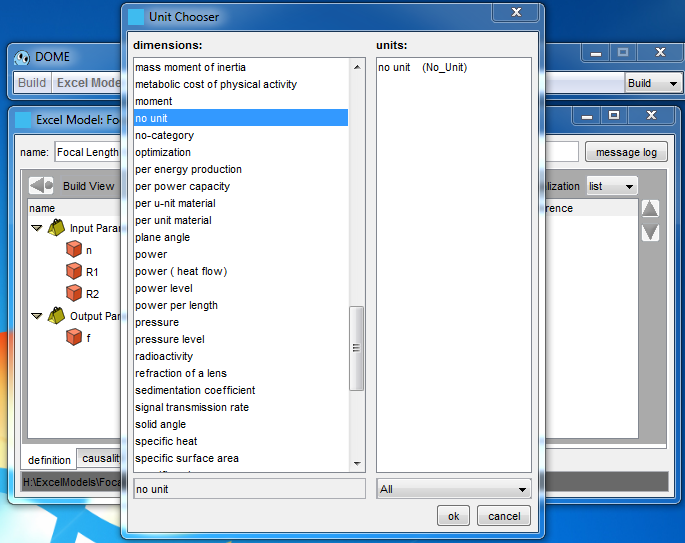
Navigate to the unit you want. In our case we navigate to the class length, we chose the metric units and we chose centimeter.
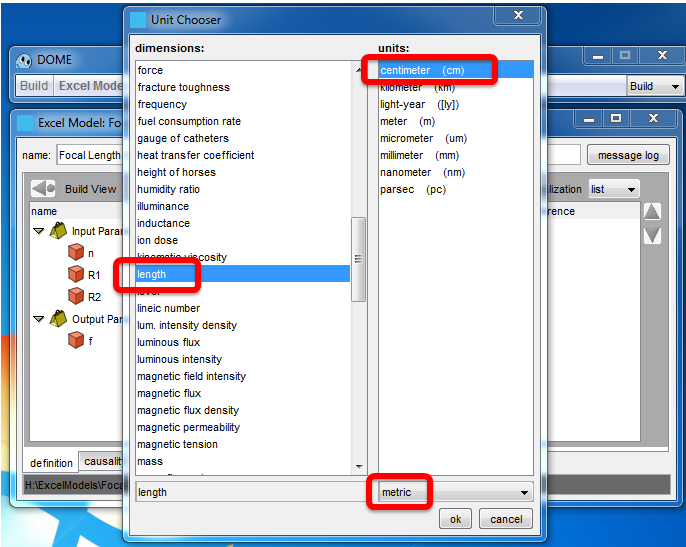
Now we have the correct units.
The next step is to provide information so that DOME can connect the model parameter values with the spreadsheet data. You have your excel file with the description of the model.
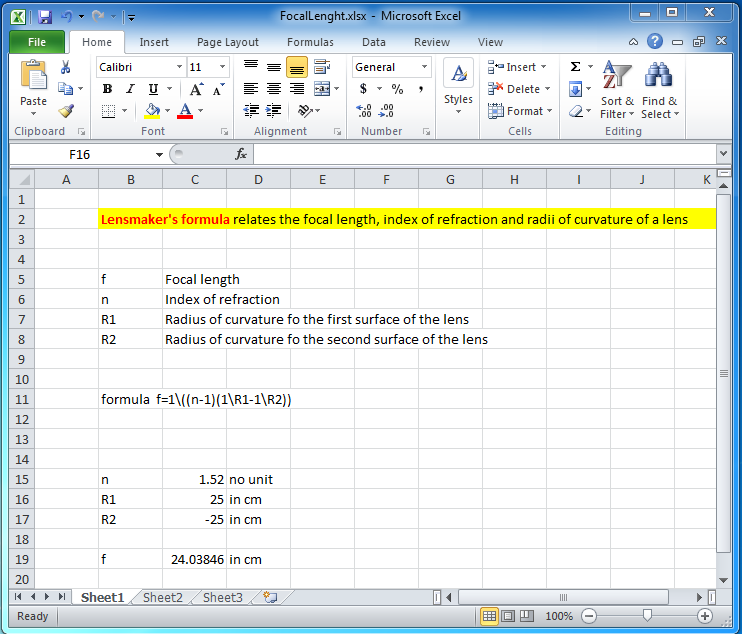
We need to create the following links
| Parameter in DOME | Cell in the speadsheet |
|---|---|
| n | C15 |
| R1 | C16 |
| R2 | C17 |
| f | C19 |
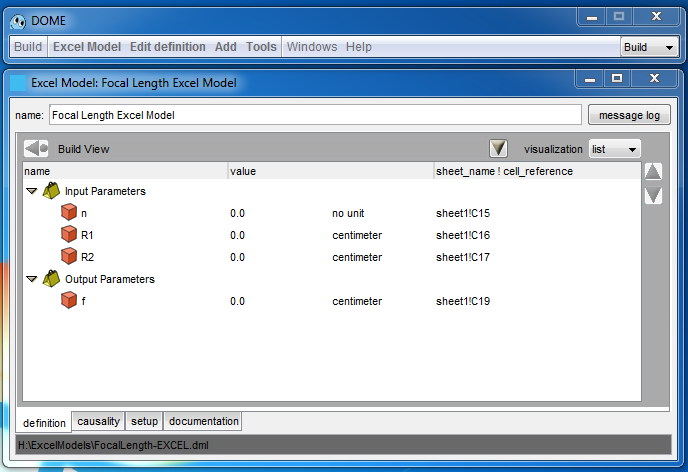
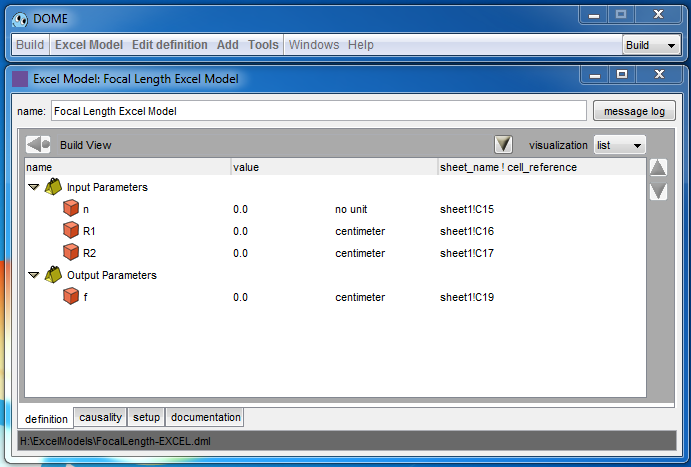
In the excel model window the sheet_name ! cell_reference column is clickable. Click on the column, in the row related to n.
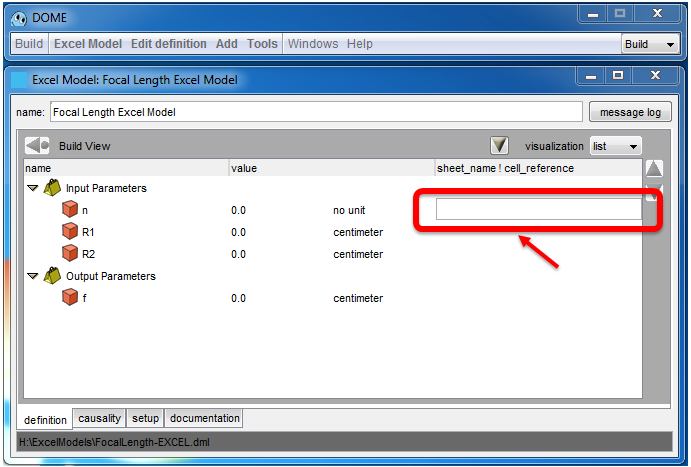
Add the sheet number and the cell with the following syntax sheetnumber!cellnumber. Do that for all the parameters linked to a cell in the spreadsheet.
NOTE: At this point there is not link to the specific file. The link to the file name will be done later.
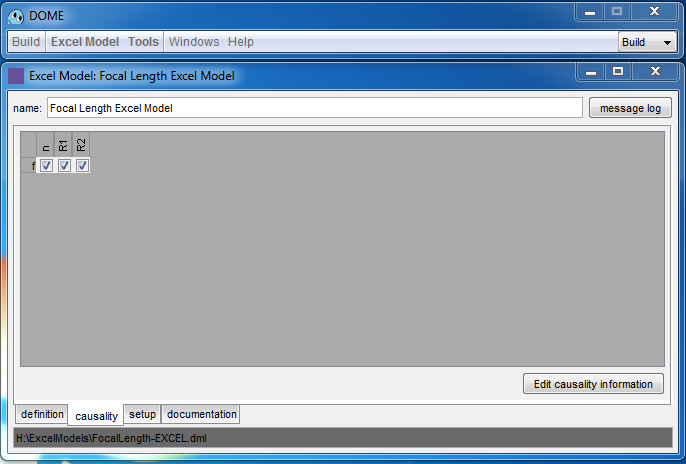
Click on the causality window, bottom right.
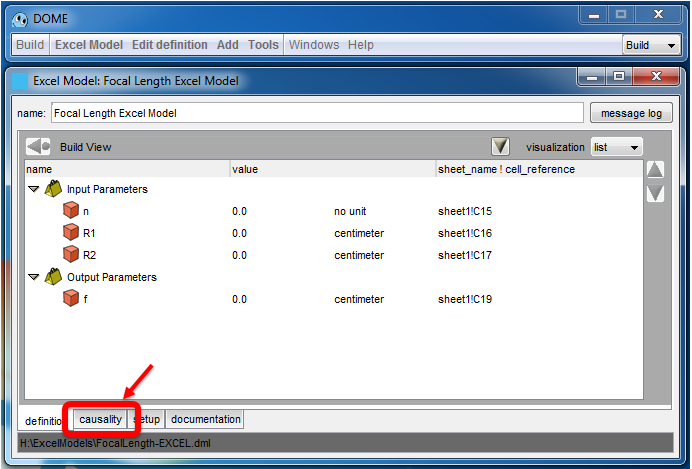
An empty window will appear.
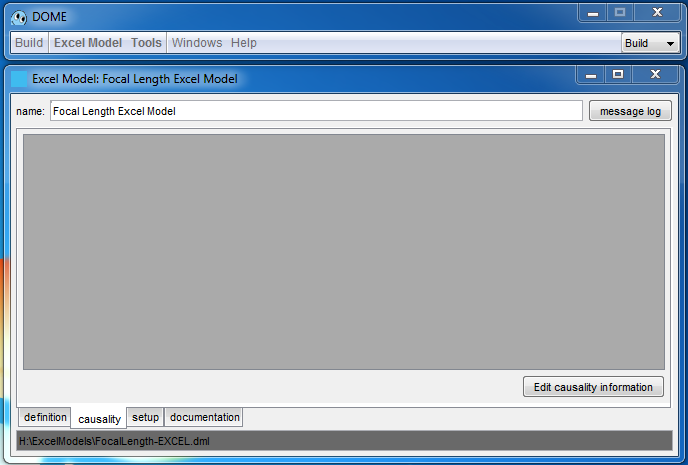
Now click to Edit causality information
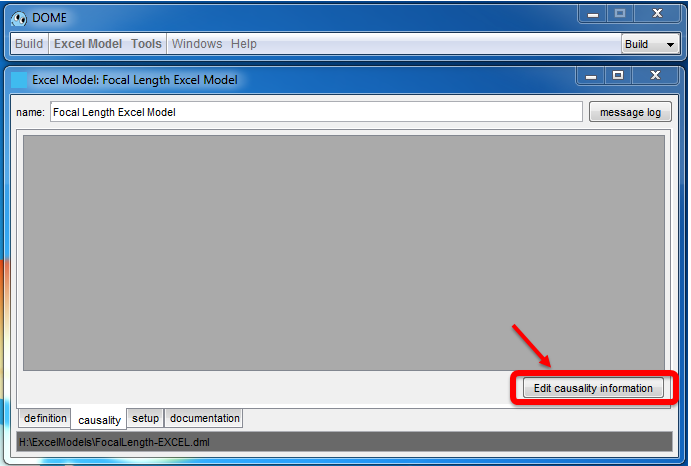
A Edit Causality Information will appear
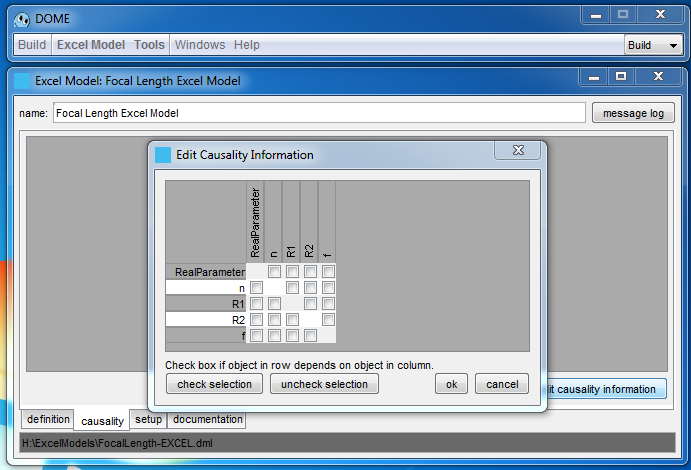
Check the causality, in our case f depends on n, R1 and R2. Remember the following: the fields in the rows DEPEND ON the fields in the columns.

Click ok
Click to definition, bottom left, to go back to the Build View window.
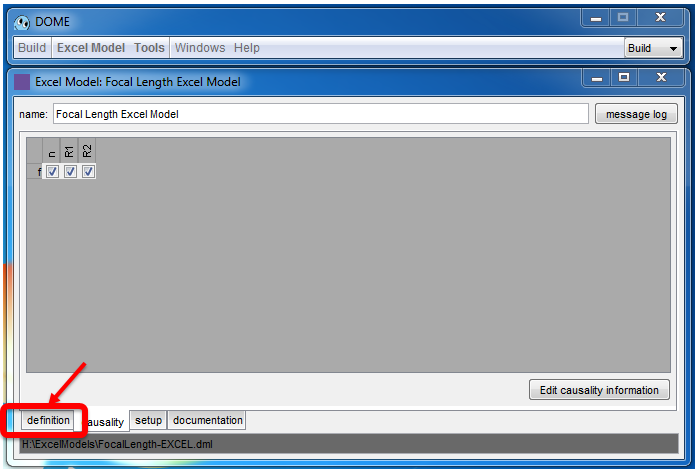
Now you are in the Build View window.
You need to associate the model to the file. Click setup.
A new window will appear.
Click on the value of the software version to see the different options of Excel version.
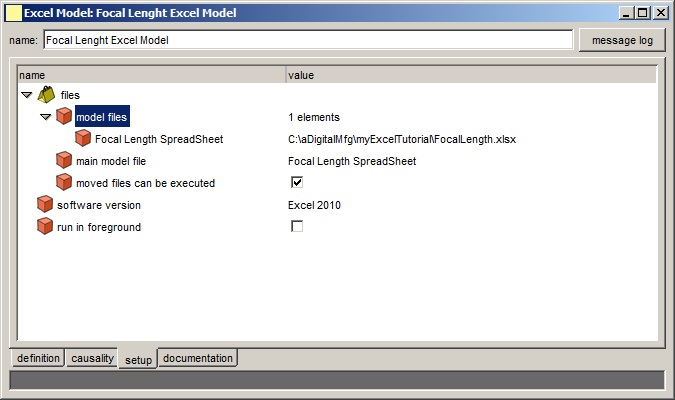
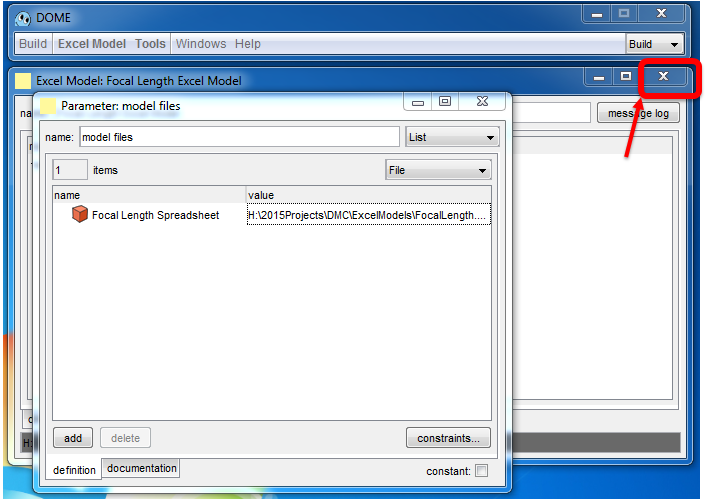
Double click on the icon, the red cube, for the model files parameter. A parameter: model files window appears.
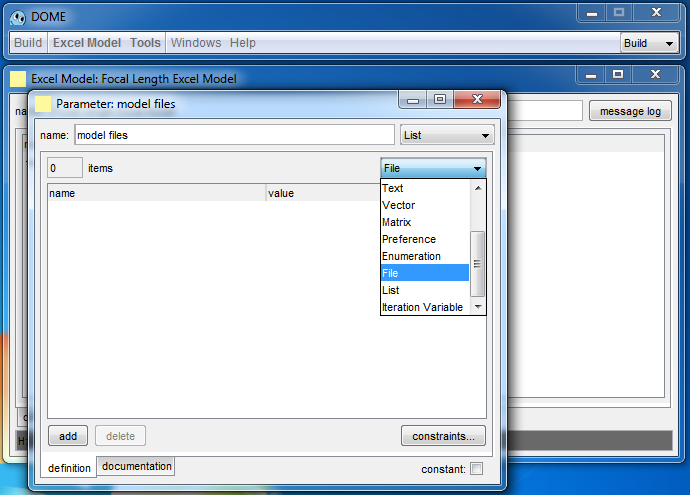
The model file parameter is a list. This list parameter will be used to define which Excel files are to be associated with the wrapper model.
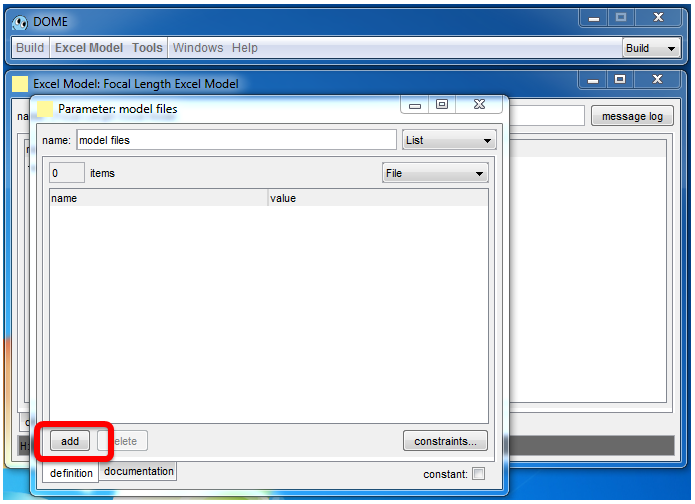
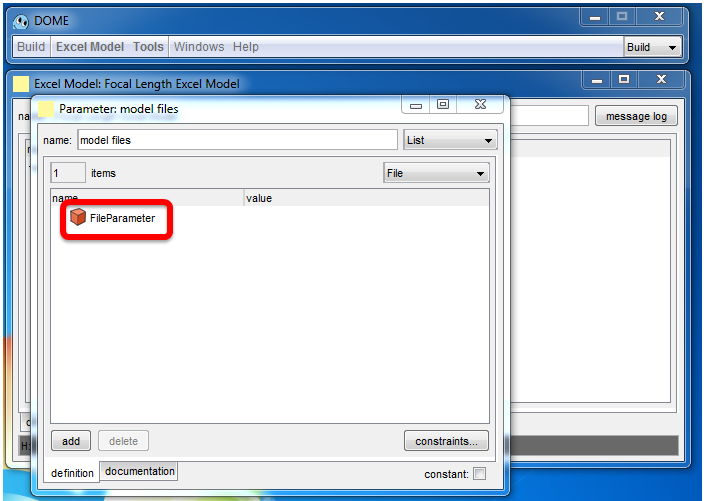
First, make sure the parameter type combination box in the upper right of the model file window is set to file. It should be set to file by default. Then press the add button to add a file parameter to the list.
A File parameter will appear
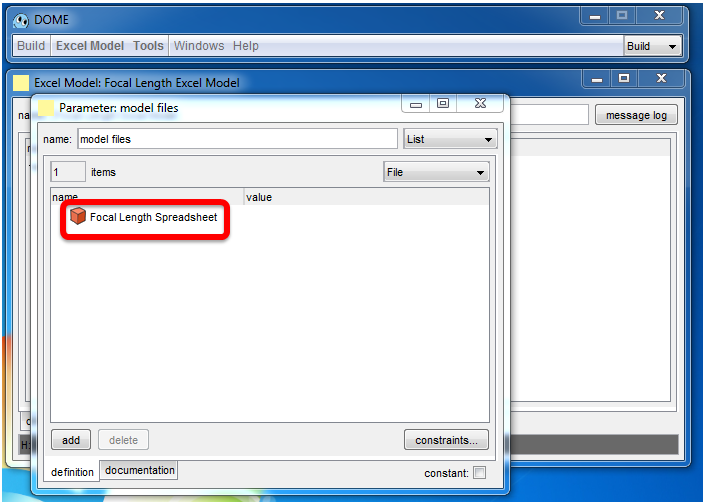
Rename the file to match the model. To do that click on the name and type the new name. Then click outside the name to save it.
Press the value field and press the choose button to locate the spreadsheet.
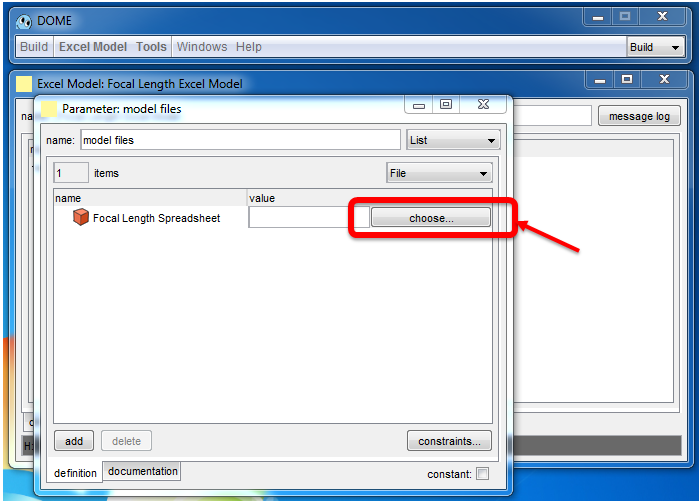
Select the excel file to add to the model.
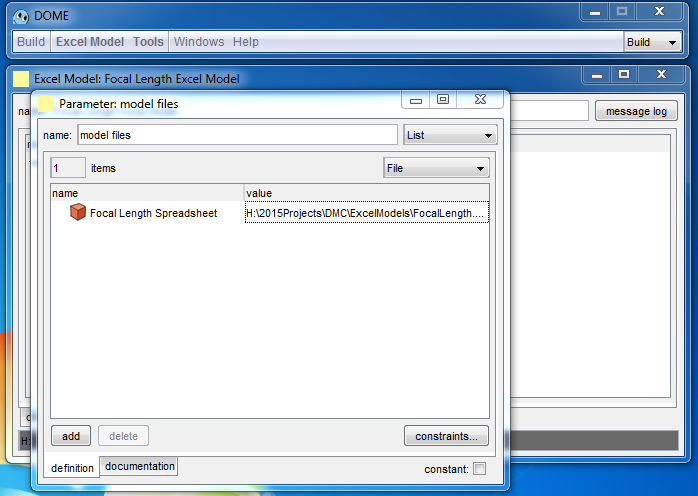
The value of Focal Length Spreadsheet is now the path to the spreadsheet file. May need to click on "main model file" for it to update, which it should automatically. Since there are no other files associated with the Excel model, close the model files window clicking on the top right x.
Expand the model files (clicking on the yellow triangle). The path you just entered appears in the value.
The main model file is a parameter selected from the model file list. Since there is only one file parameter in this case, it is already set to the Focal Length spreadsheet parameter.
Moved files can be executed being true means that a copy of your excel spreadsheet file will be deployed to the server and executed within the server file space. Your local copy of the spreadsheet will not be used during model execution.
The software version needs to be set to the version of Excel that is being used on the server where the model will be deployed. Change this to match your version.
Run in foreground is false. This means that when users execute the wrapped Excel model on the server, Excel will run in the background.
The wrapper model is now defined.
CREATE AN INTERFACE
In this step you will create an interface for the model that you completed in the previous step. Interfaces are the exposed views of a model made available to run-mode users. The process of building interfaces is the same for DOME models, plugin models, and integration projects. Therefore, this step of the tutorial refer to the DOME model tutorial.
Once the interface is built the wrapper model is ready for deployment.
DEPLOY THE MODEL
In this step you will move the model and interface files that you saved in the previous step to a server where they can be executed by remote users. The deployment process is the same for any type of model, so refer to the DOME model tutorial. Remember, you need to deploy the Excel model to a server running the version of Excel that you chose when you built the excel model.
Once the model is deployed you can run it.
RUN THE MODEL
Before you run the model, you will need to add the ExcelPlugin2010.dll from the DOME repository at https://bitbucket.org/DigitalMfgCommons/dome in the dlls/ folder. You will need to either put this DLL in the bin/ folder, where the .bat/.sh files used to run the server and client are located; alternatively, you can add this to your path. Note that in Windows, the underlying dependencies to the ExcelPlugin2010.dll are preinstalled as part of the OS, but for non-Windows machines, you will need to follow a similar procedure.
Refer to the DOME model tutorial.
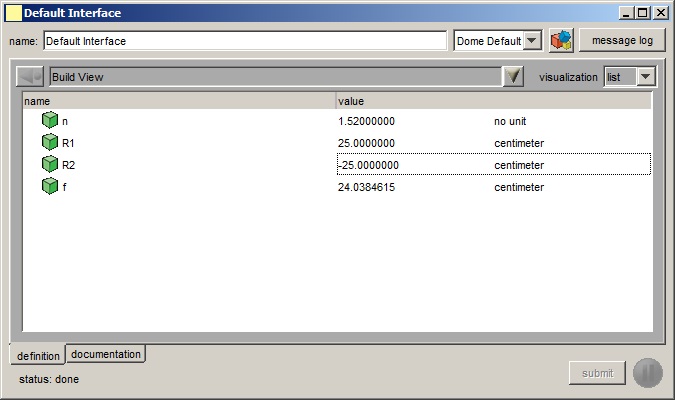
Here is how a Default Interface for the Model will look like when you run it.
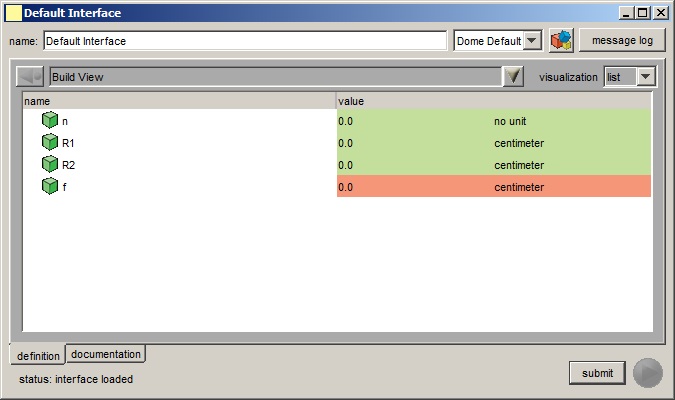
Populate the input parameters shown in green, and press submit